Monday, July 26, 2010
Text
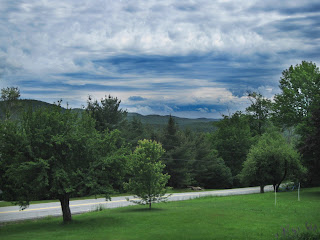
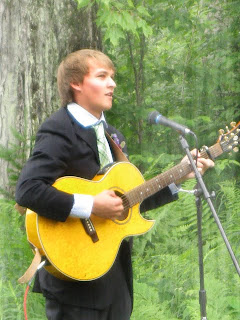
Here are my two photos with text added. I used the overlay layer technique that we used for dodge and burn so that you get some of the colors from the background in the text instead of it being a solid color.


Clone Stamp
Thursday, July 22, 2010
Dodge and Burn plus Filter photos
Here is my original photo. It's pretty boring -- nothing special.

Here is the photo after using the dodge and burn tool. I darkened the sky and brightened up the trees. I think it totally changes the feel of the shot. Dodge and burn is probably my favorite new photoshop discovery! It was so easy!
In this photo I added a grain filter and then lightened my cousin so that he wasn't blocked out as much by the filter. This made the filter affect the background and highlight him a little more.

Here I added a few filters -- I don't remember all of them but the main one was the noise filter using horizontal noise. The photo was also a lot lighter but I duplicated the background into a second layer and used the overlay method which emphasized all the colors and shadows a lot. I like how this makes it look less like a digital photo and sort of like a bad, old, regular printed photo.

In this photo I added a grain filter and then lightened my cousin so that he wasn't blocked out as much by the filter. This made the filter affect the background and highlight him a little more.

Here I added a few filters -- I don't remember all of them but the main one was the noise filter using horizontal noise. The photo was also a lot lighter but I duplicated the background into a second layer and used the overlay method which emphasized all the colors and shadows a lot. I like how this makes it look less like a digital photo and sort of like a bad, old, regular printed photo.
Friday, July 16, 2010
Fixed Photo #2

 So durring the wedding I was experimenting with different flash settings to try to get the best lighting. Clearly this was a photo where the settings were WRONG so I used it and tried to fix it for this assignment. I lightened it with multiple layers and selected the subjects to lighten only them and not the background, cropped it to get rid of the partial flower right in the front corner, and then made the whole thing black and white because some of the colors were very off after the lightening.
Fixed photo # 1
Monday, July 5, 2010
Photoshop experiments
 So this is a picture that was created with two shots -- one of the stars and one of our new puppy lying on our kitchen floor. I used the select tools to take the puppy out of the kitchen and place him in the grass. Then I resized him a bit, copied the grass on one side and placed it in front of him on the other side since the grass in the spot he is was too tall to use as a layer in front of him. I will be posting at least one more experimental photo soon!
These were two photos again that I merged using selection and layers. They were taken in two totally different lightings but I thought they looked cool together anyway. The selection isn't great and the quality of the photo of my little sister isn't great but I couldn't help but use it anyway!
Friday, July 2, 2010
Subscribe to:
Comments (Atom)


